After my recent dive into TLS, I did a quick talk on about generating a root certificate, and then signing a server certificate with the root to get a valid TLS internally. Thus you can get away without Letsencypt, or similar, for your local network or development environments. Although I think it is important to understand how this works, this is far too much work for setting up TSL on a development environment. We can use mkcert to handle all this legwork for us.
Install
The application is a command line app written in go, therefore we can install it as a static binary. We can download it, make it executable and run it. Once you have it installed you will need to install the root ca onto your devices. There is a nice install command through the CLI to install it on the development machine you are on.
mkcert -install
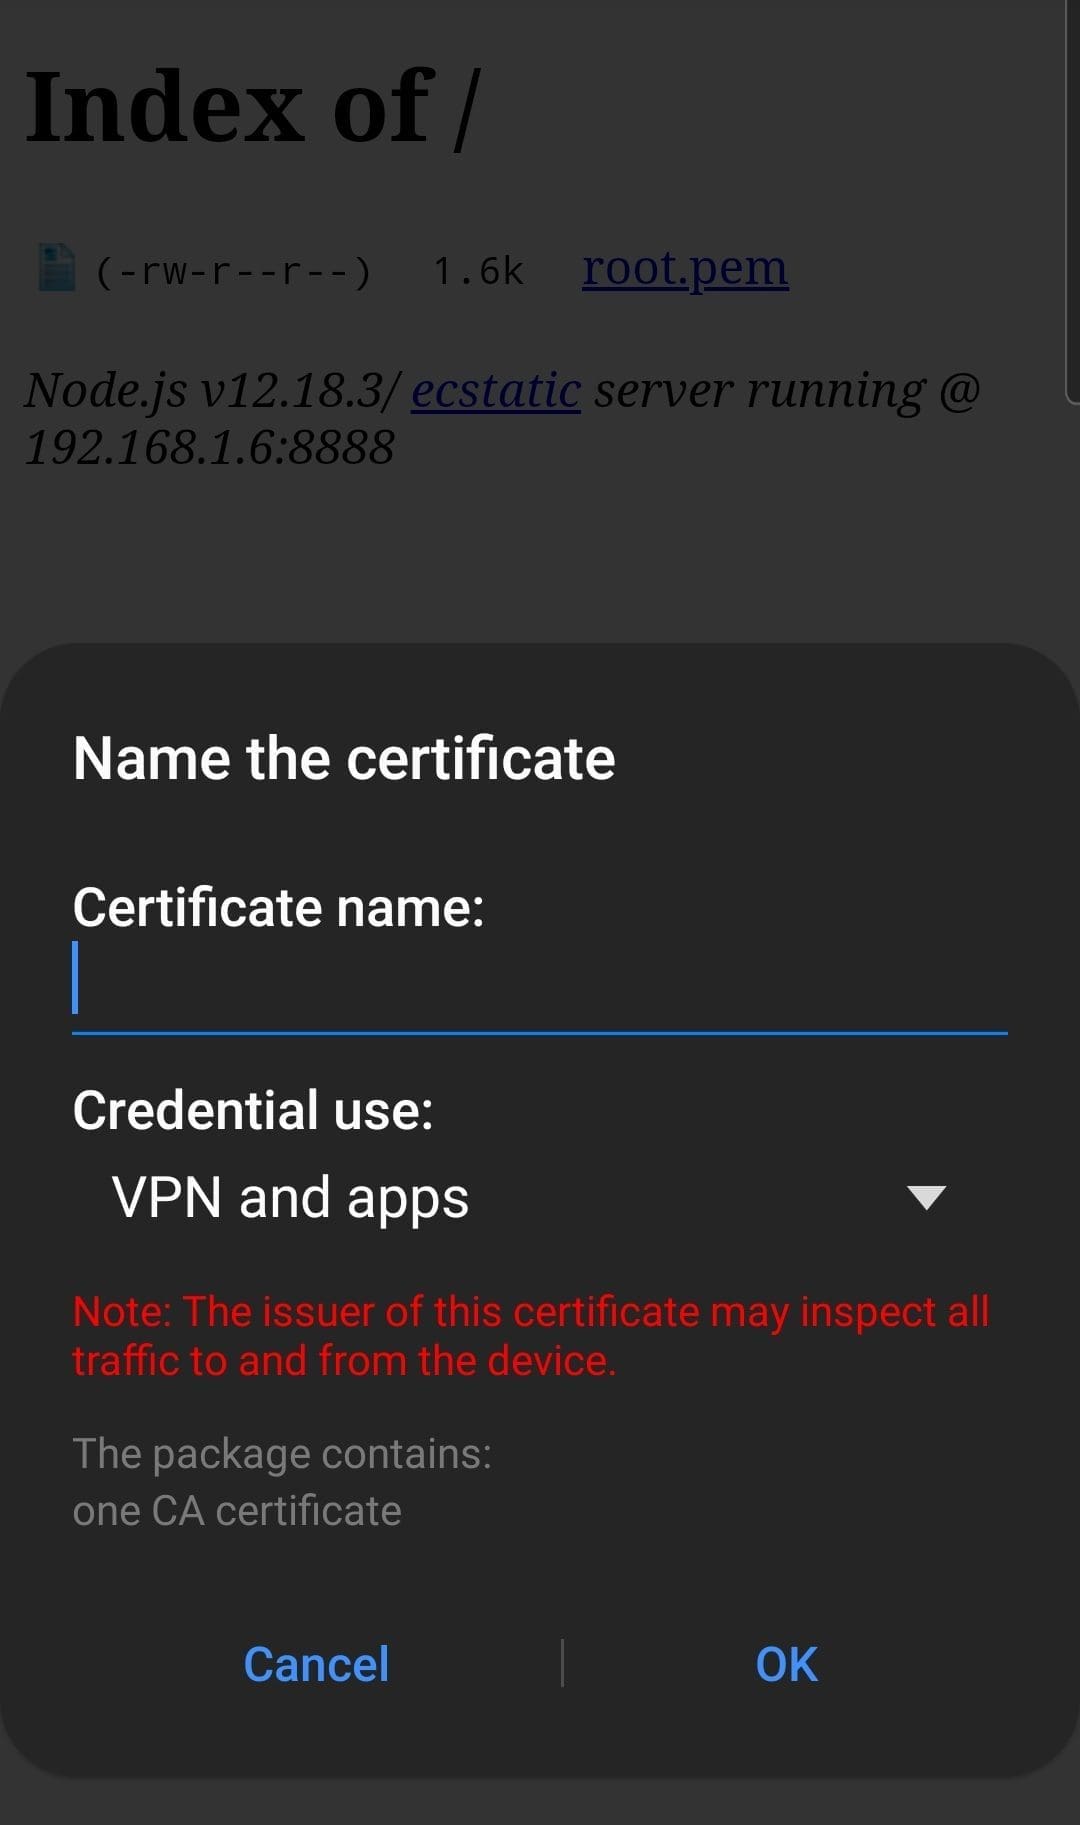
Now if you want to test your development site from your phone it is not uncommon to visit that site from your phone. This will display the dreaded invalid certificate warning. To fix this annoyance, we need to get the root ca onto the phone. The easiest way to do this is to get the cert onto a web server. This can be actioned with the below script. When the server is booted go to the URL from your phone and install the certificate.
# Lets get to a tmp directory

mkdir /tmp/root-ca-server && cd /tmp/root-ca-server

# Copy the root cert into this directory

cp "$(mkcert -CAROOT)/rootCA.pem" ./root.pem

# Start a web server

npx http-server
Generate a cert

Now it’s time to create your cert. Before we do this, we need to get the “Certificate Subject Alternative Name”. This is basically the domain name you will be using to access your web service.
Using the hostname
hostname --fqdn
Using puppet facts
For me the hostname did not get the full domain name given to me by the router. It only returned the hostname of the machine. In the end, I had to use puppet facts. If you have this installed, then this is the way to go.
facter fqdn
Generate the certificate
The below command will generate a server certificate that we can now install on the servers.
mkcert -cert-file server.crt -key-file server.key "$(facter fqdn)"
You can also generate wildcard certificates – you only need to generate one certificate. Note, this will involve some DNS or hosts file work to the domain names routed to your development machine.
mkcert -cert-file server.crt -key-file server.key "*.$(facter fqdn)"
Use the certificate
Nginx
server {

  listen [::]:443 ssl http2;

  listen 443 ssl http2;
ssl_certificate /path/to/server.crt;
ssl_certificate_key /path/to/server.key;
... Rest of the server config
}
Apache2
  SSLCertificateFile    /path/to/server.crt

  SSLCertificateKeyFile /path/to/server.key
... Rest of the server config
Envoy
static_resources:

  listeners:

  - name: listener1

    address:

      socket_address: { address: 0.0.0.0, port_value: 8000 }

    filter_chains:

    - filters:

      - name: envoy.filters.network.http_connection_manager

        typed_config:

          "@type": type.googleapis.com/envoy.extensions.filters.network.http_connection_manager.v3.HttpConnectionManager

          stat_prefix: service

          route_config:

            name: local_route

            virtual_hosts:

            - name: local_service

              domains: ["*"]

              routes:

              - match: { prefix: "/" }

                route: { cluster: service }

          http_filters:

            - name: envoy.filters.http.router

      tls_context:

        common_tls_context:

          alpn_protocols: "h2"

          tls_certificates:

            - certificate_chain:

                filename: "/path/to/server.crt"

              private_key:

                filename: "/path/to/server.key"
